
We’re in a Magazine!!
Leave a commentFebruary 25, 2013 by caitlinvaclark
In less than two weeks, Chris and I will be celebrating our first wedding anniversary! I can’t believe it’s already been a year. But just in time to celebrate, the latest issue of Southern Bride & Groom Magazine has been published with a feature on our wedding!!!
http://www.pageturnpro.com/Progress-Printing/47607-106816_SBG/index.html#118
As you’ve probably gathered we love to entertain, so when I was planning our wedding I wanted to replicate a dinner party I’d host in my own home. Just on a HUGE scale. I added chandeliers to our rustic warehouse space and formal china with gold trim to accent the gold chargers and napkin ribbons that I crafted. Yup that’s right, I got out the hot glue gun for 250 place settings!?
We paid particular attention to the food, of course. For the cocktail hour we embraced my southern background with pulled pork nachos and shrimp on grit cakes. Then we had a big sit down dinner and the entrees included both, you guessed it, lamb shanks and risotto! Before the cake, we even had plates of local cheese (for me) and Durham Catering’s version of Chris’ beloved Entenmann’s chocolate covered donuts.

But of course by the end of the night my “classy” dinner party turned into an all out rager! Our band was so incredible that they had everyone on the dance floor, and for the final number Chris got on stage to perform with them. As my fabulous husband says, “you don’t realize how few words you know to ACDC’s Shook Me All Night Long until you’re told to sing it in front of everyone you know.”

To add more personal touches I let my craftiness continue, making gold and peacock blue Mr. & Mrs. chair signs and our “guestbook” which was a canvas for the guests to sign embossed in gold with our names and the date. But my pièce de résistance was definitely my handmade favors: seasoned salts.
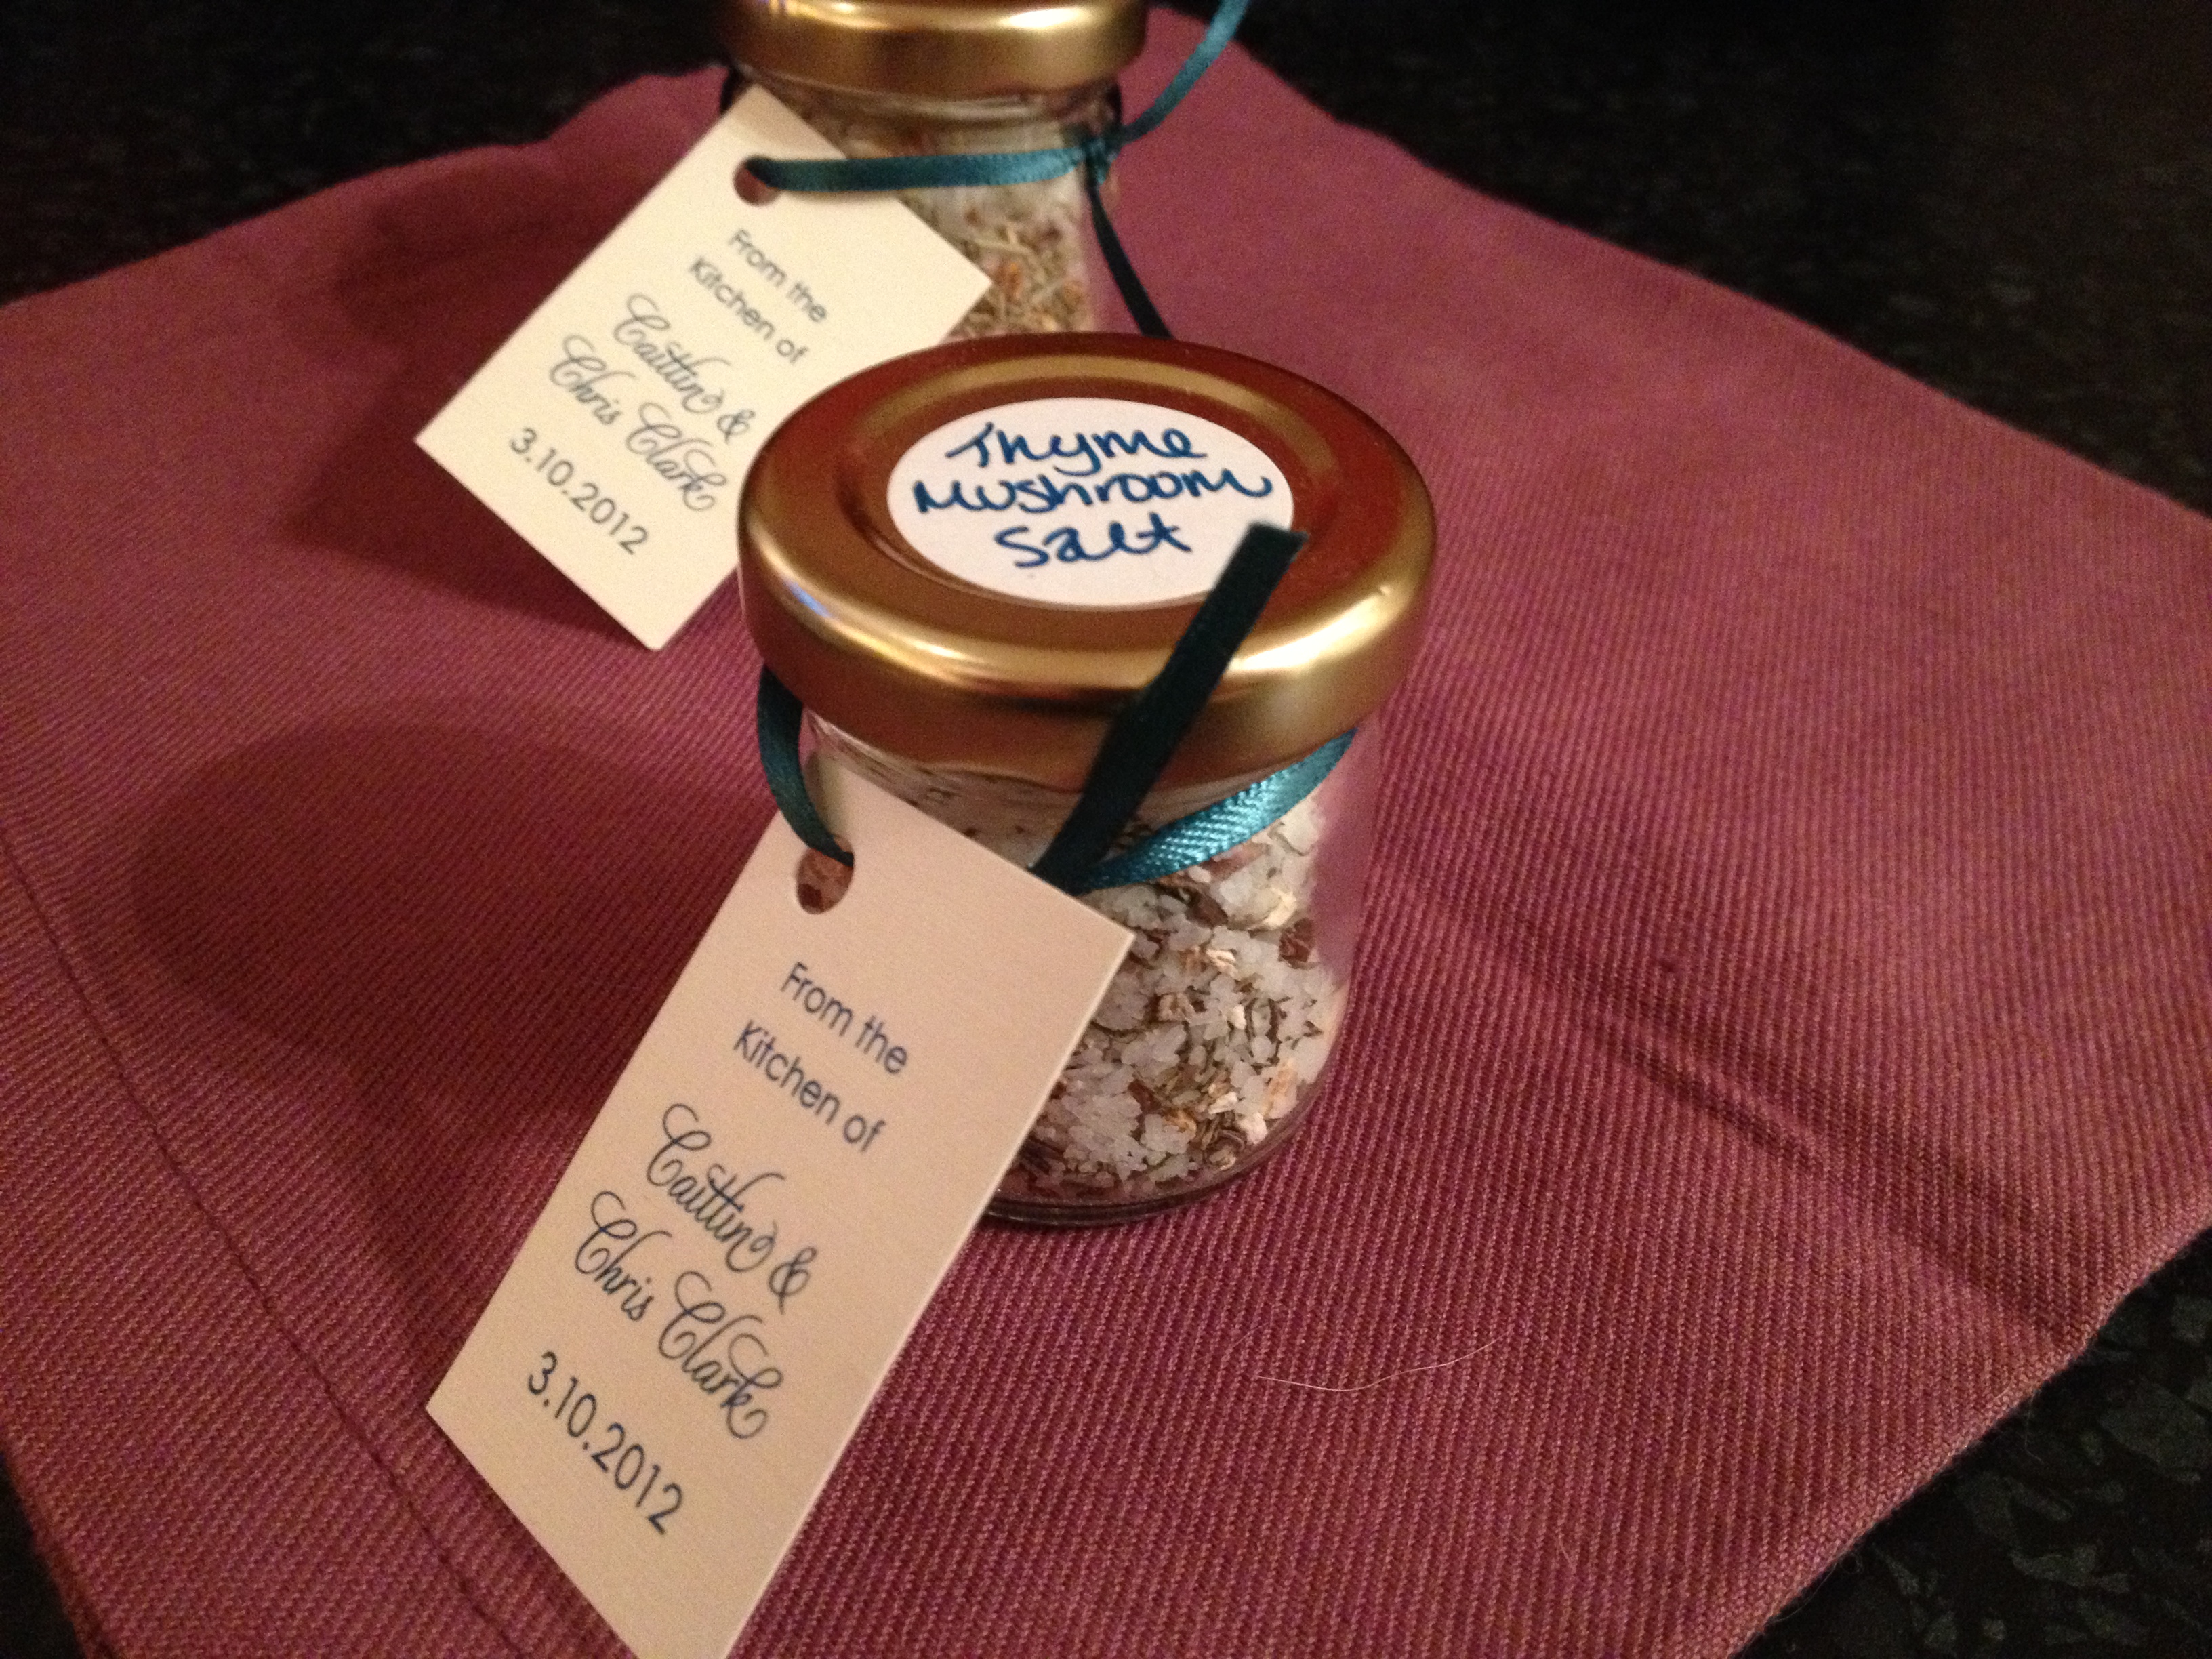
The proportion is 1/2 cup of salt to 1 tablespoon each of the two seasonings.
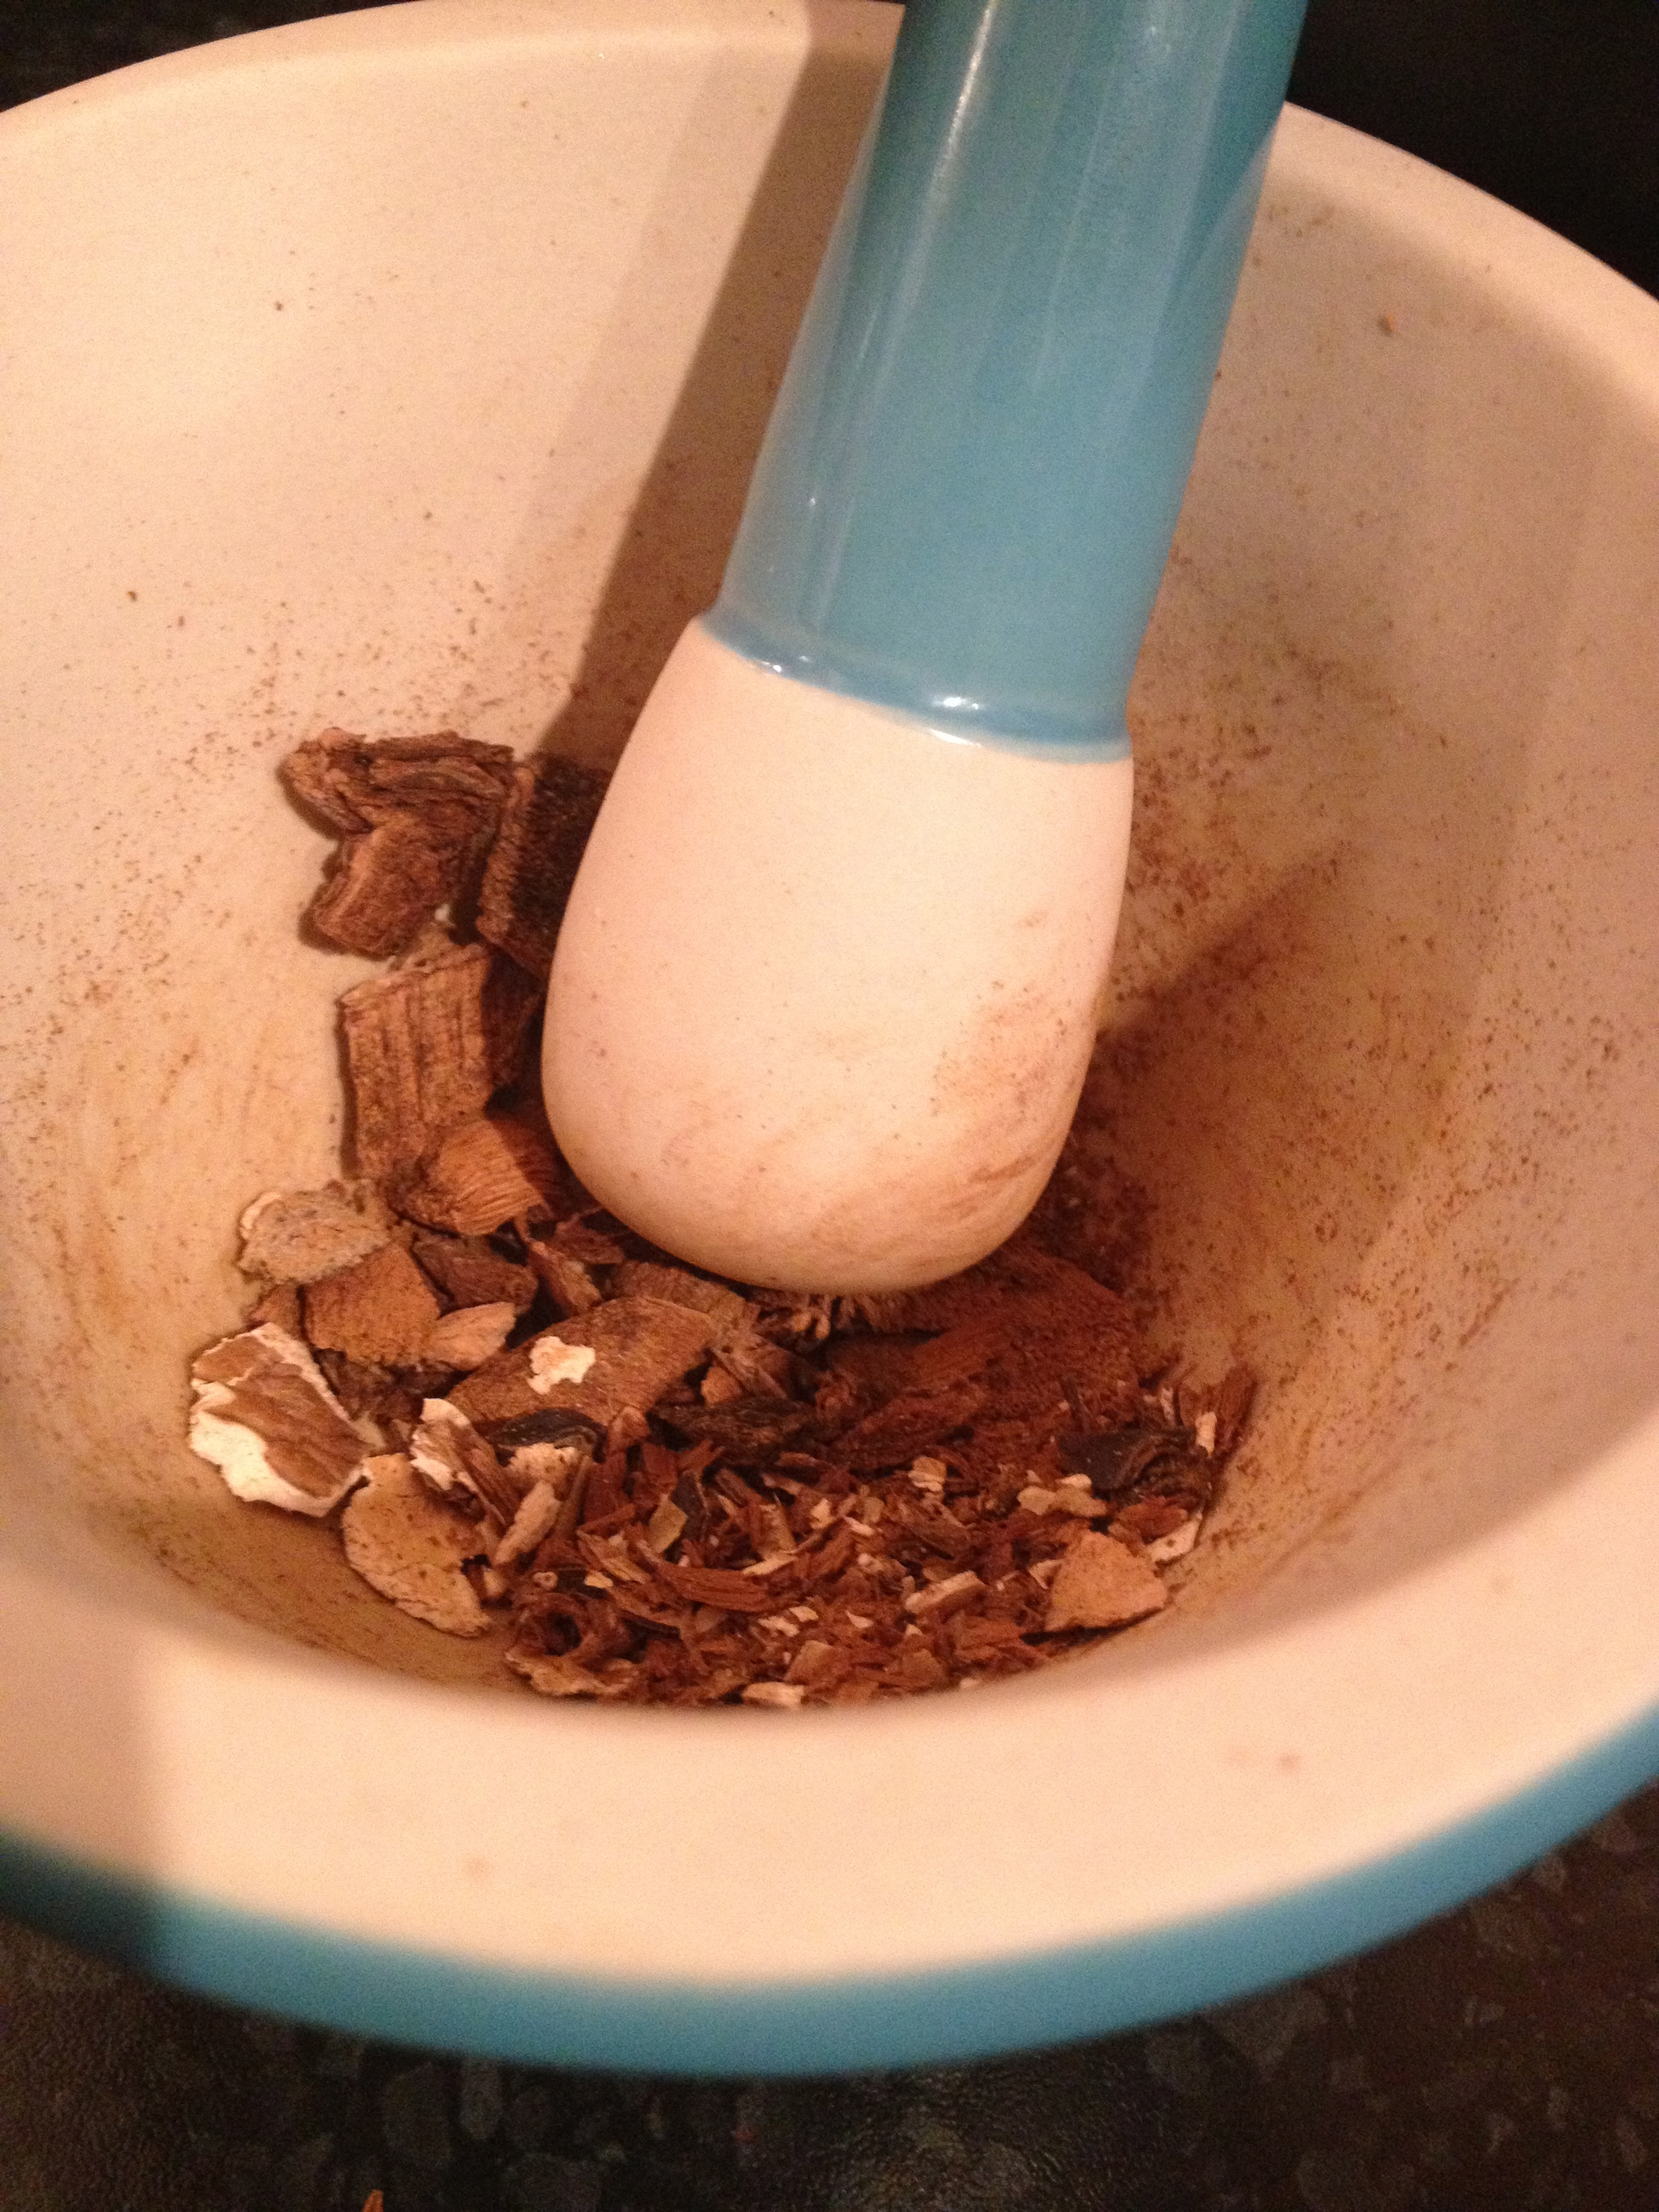
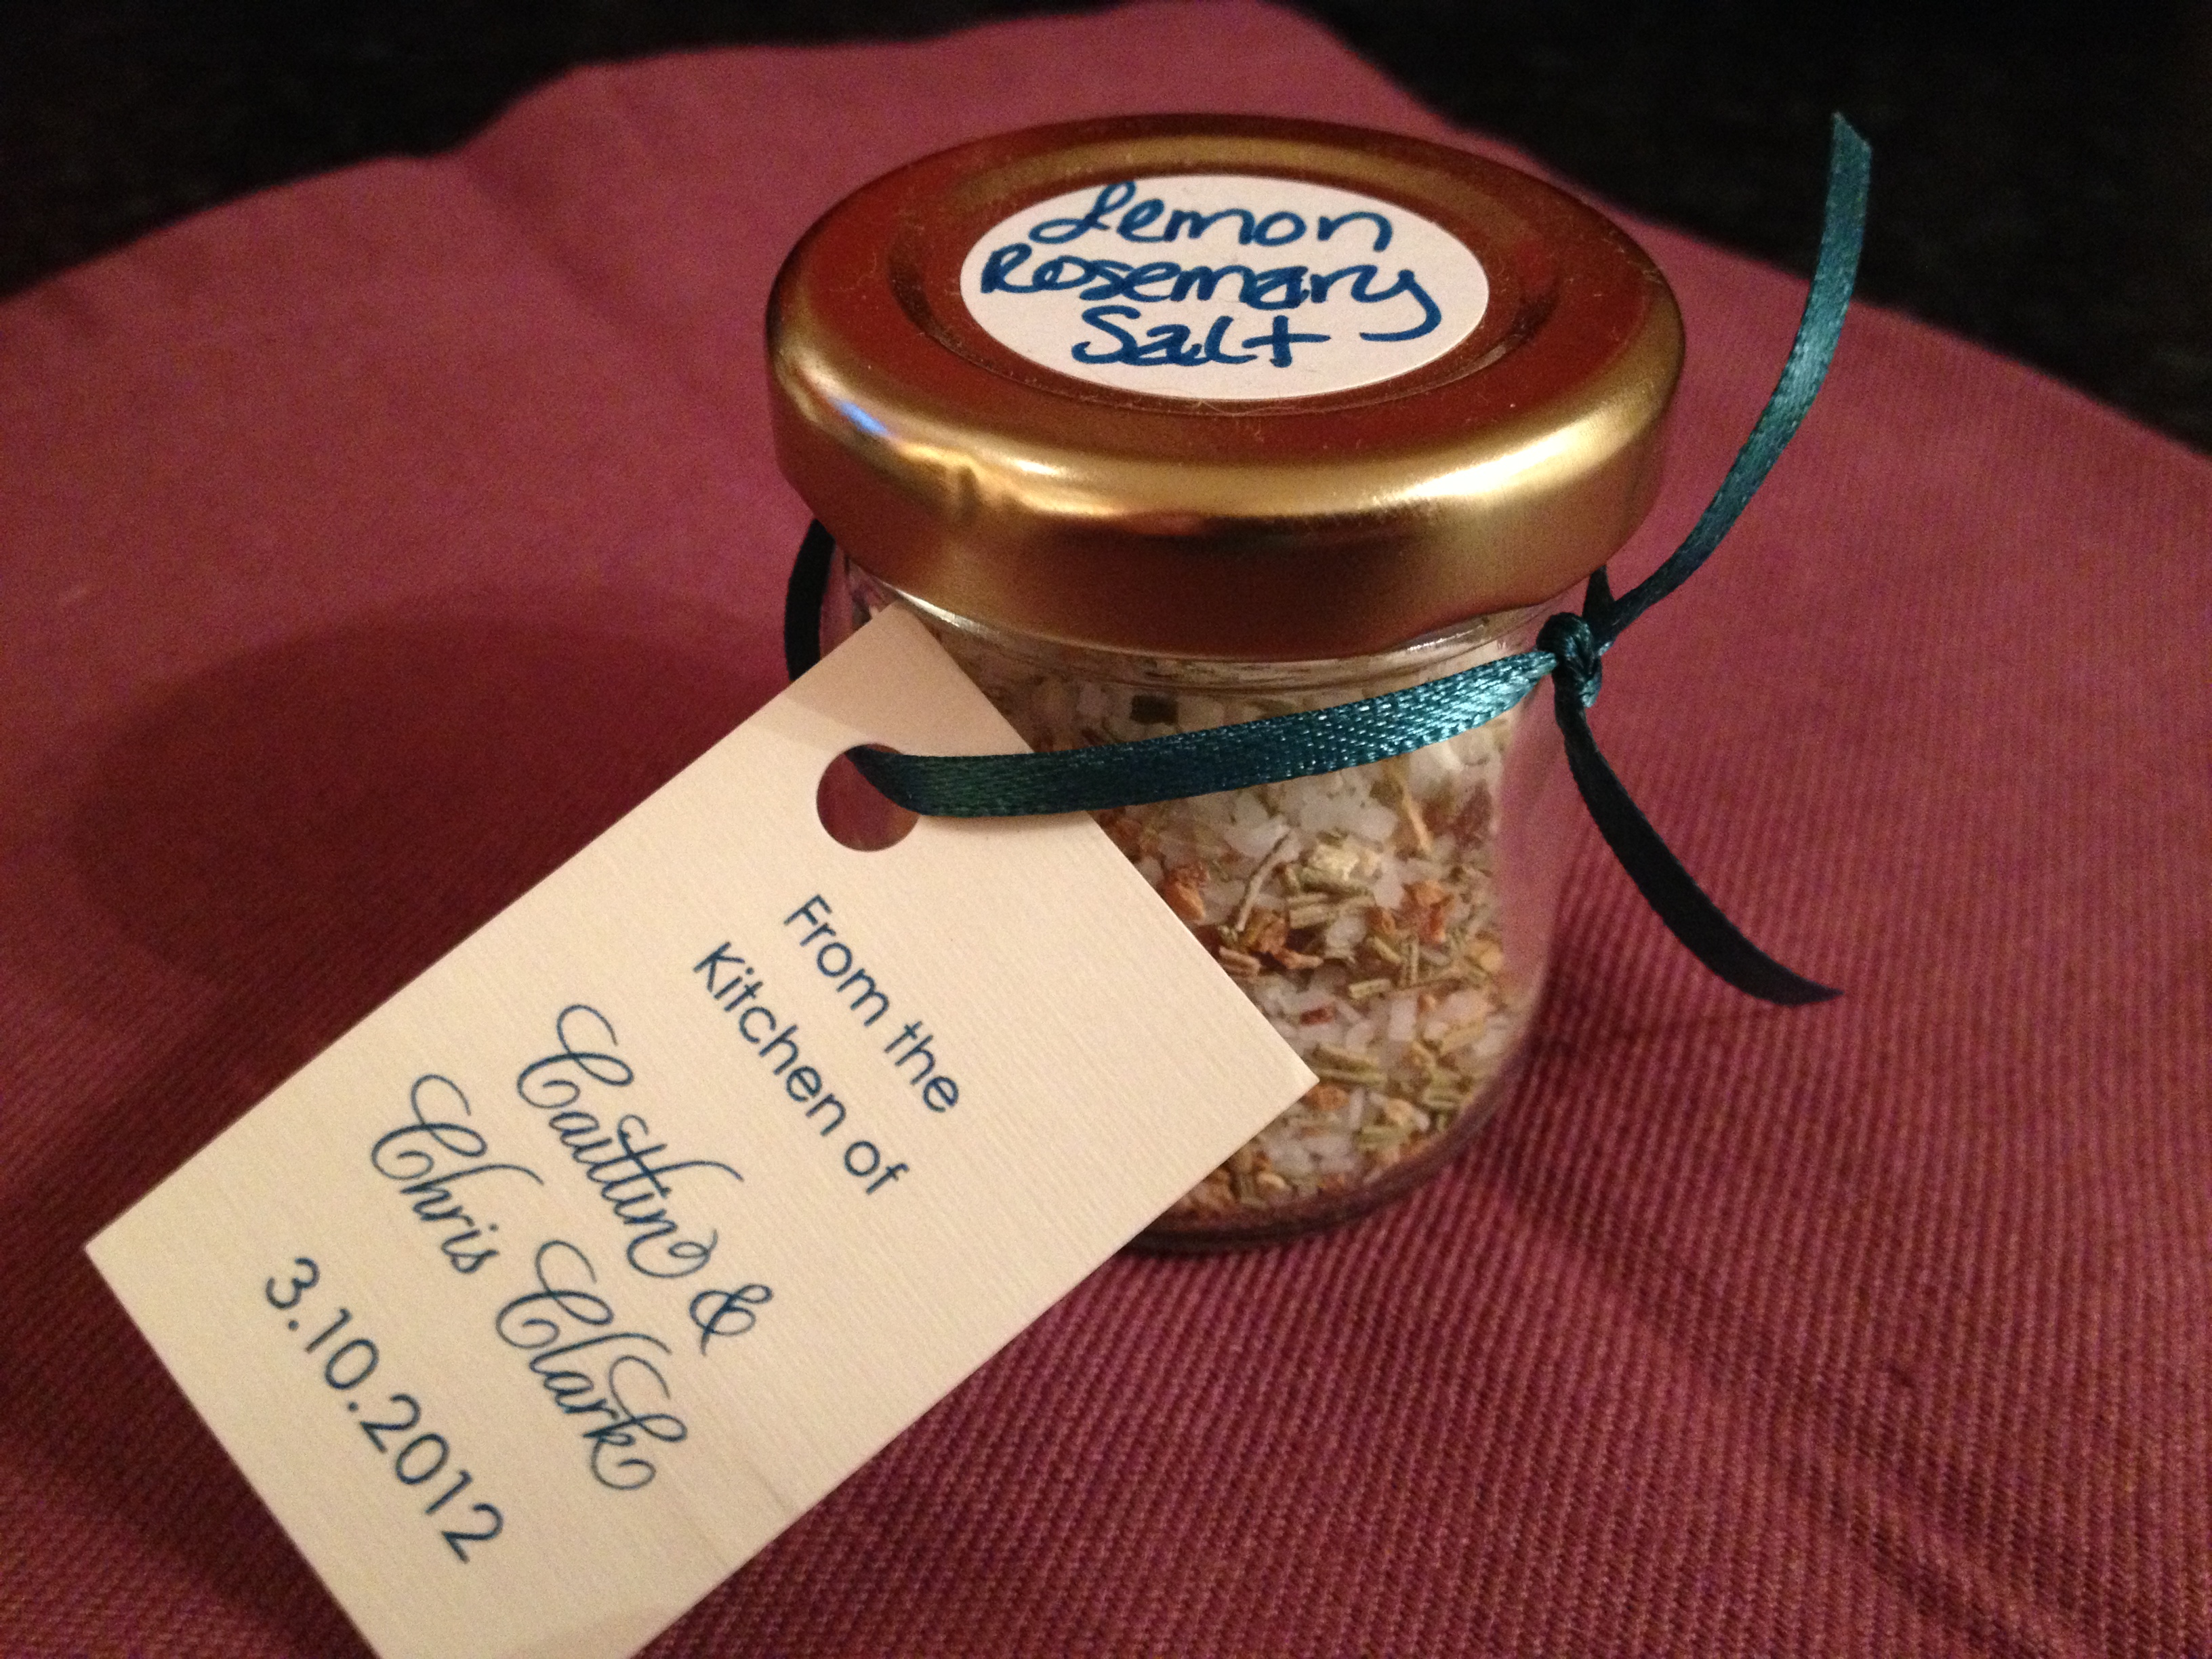
Start by using a mortar and pestle to grind either the dried mushrooms or the cracked rosemary. Then shake together with salt and either the thyme or dried lemon peel. Easy as that! And they make a great gift and are excellent to have on hand to kick up any meal.
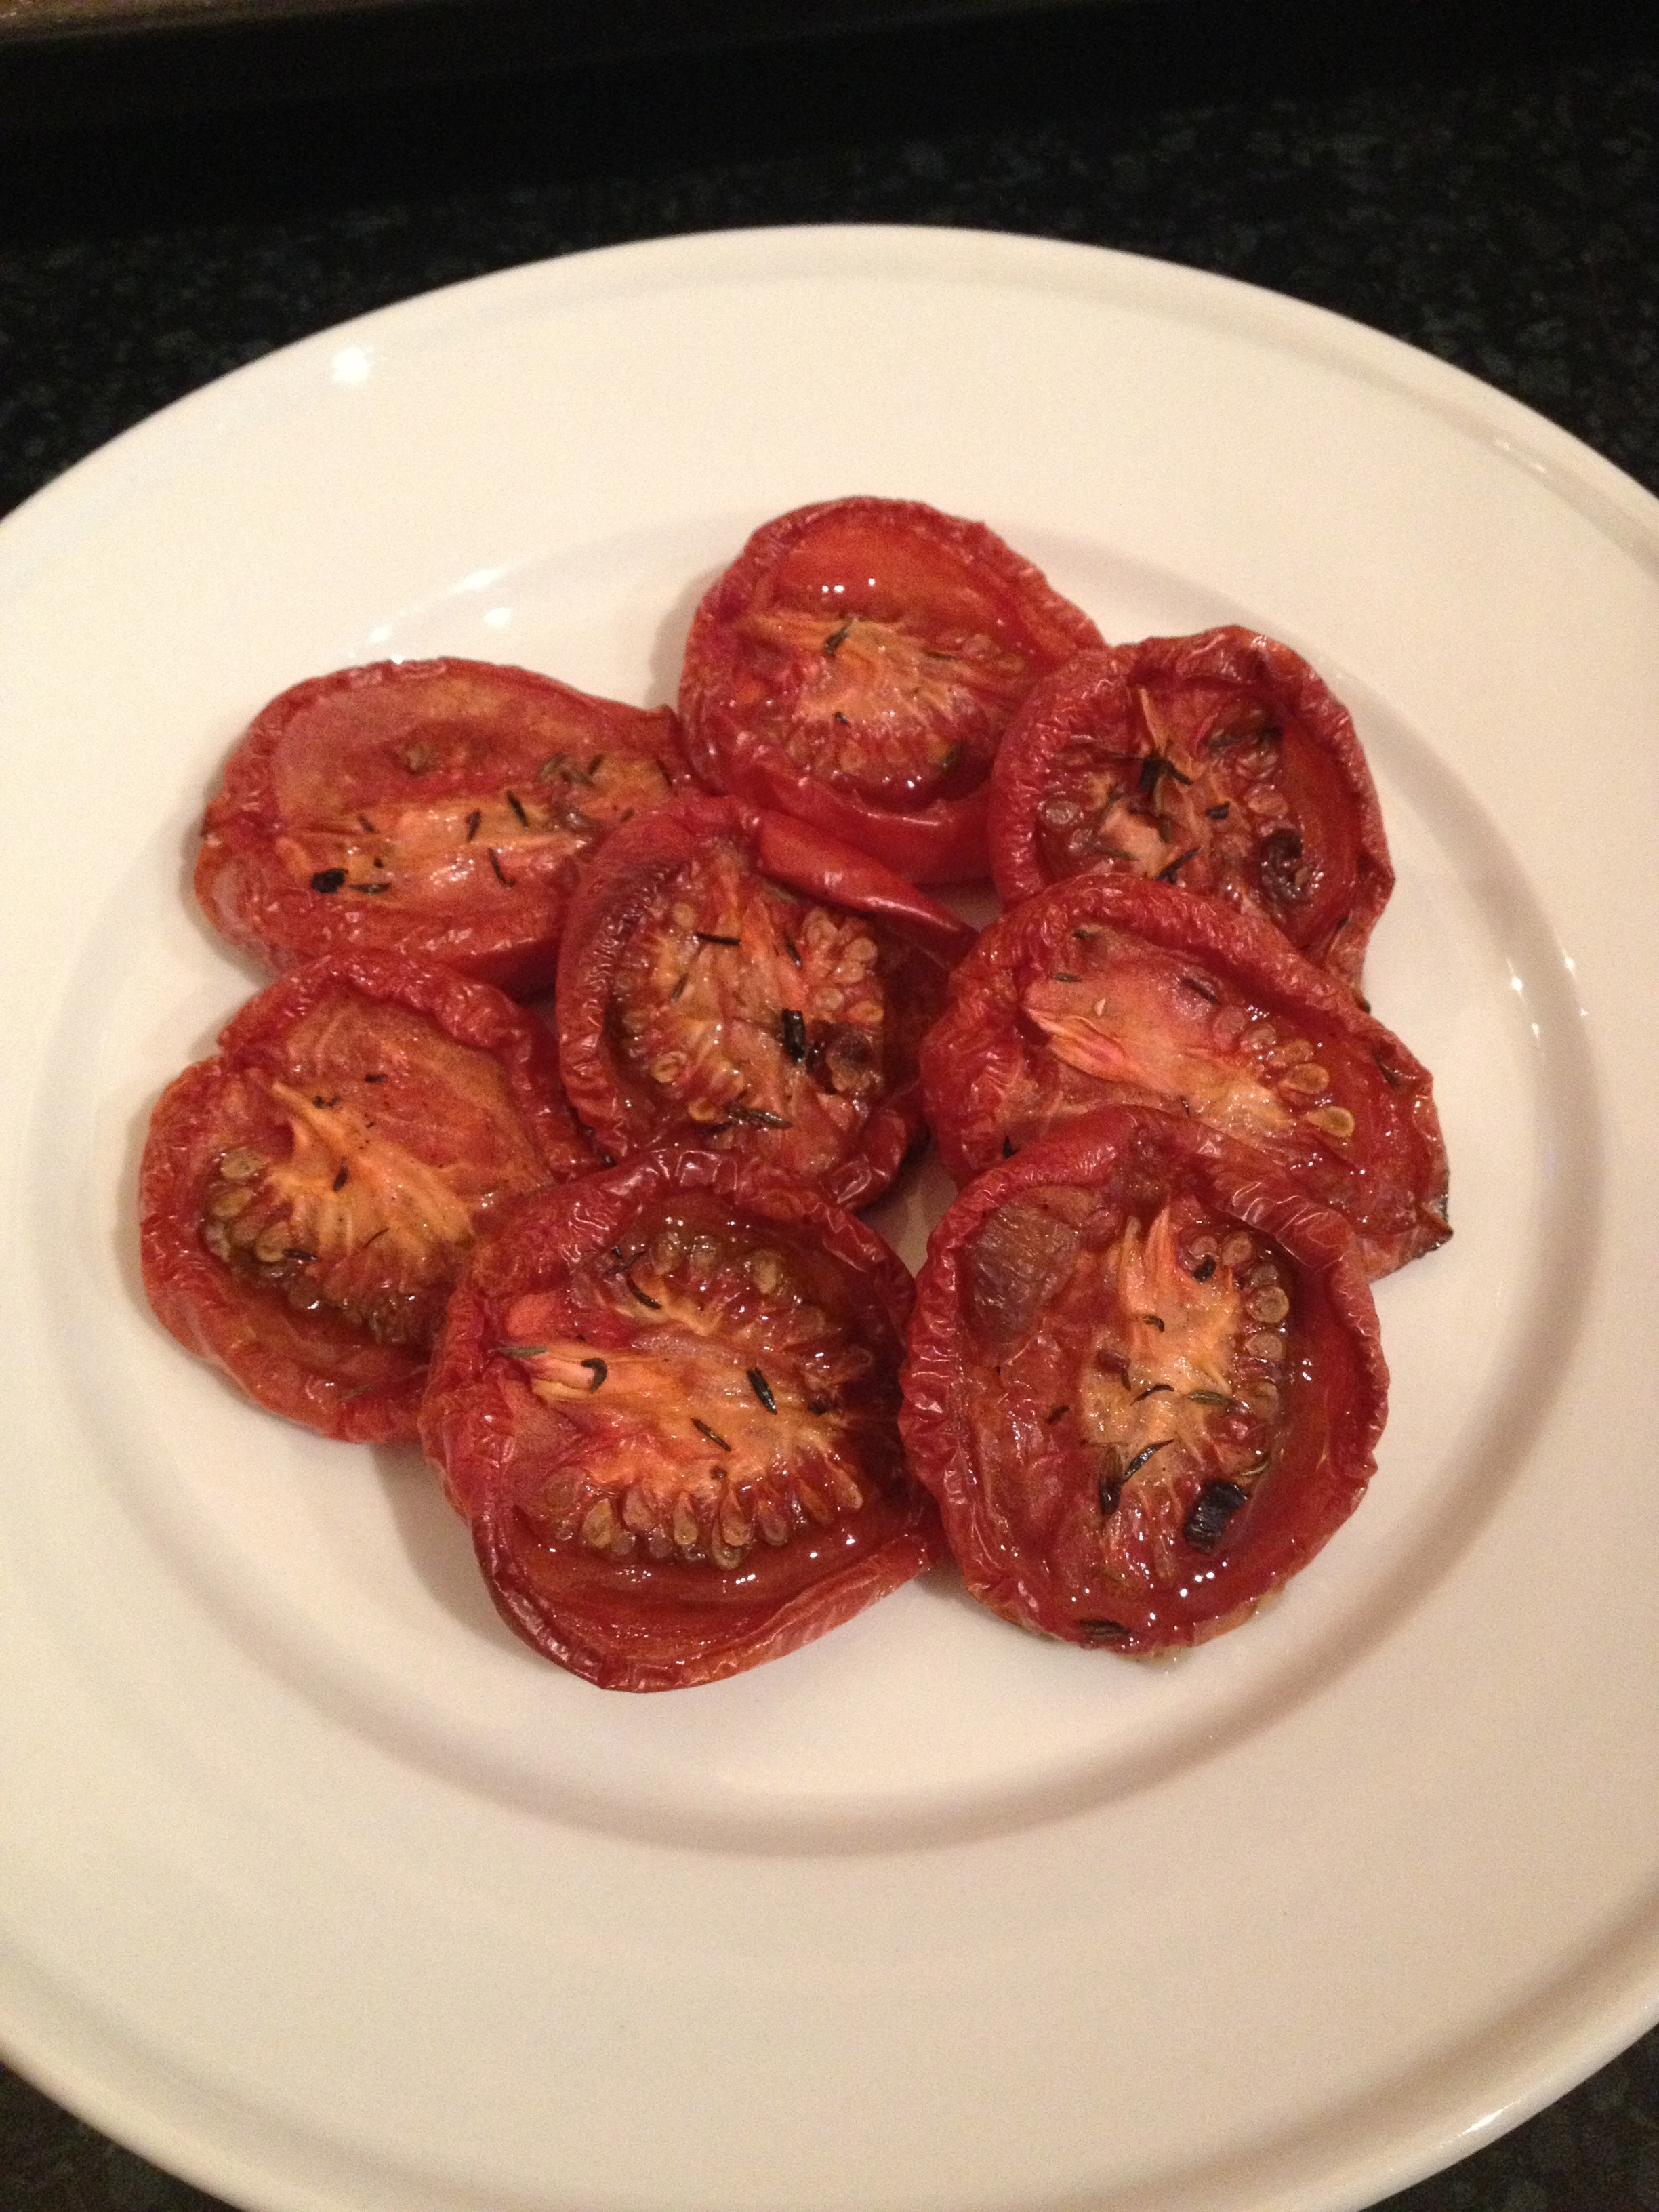
I use these salts in so many dishes. Both are great on roasted potatoes. I love the thyme mushroom salt as a crust for grilled steaks or mixed into meatloaf. I also used this salt for slow roasted tomatoes for an amazing salad that I will tell you about on Wednesday. Stay tuned…
The lemon rosemary also makes a perfect topping for an easy baked fish. Or use it to make the lemon rosemary focaccia, like I did on Saturday!
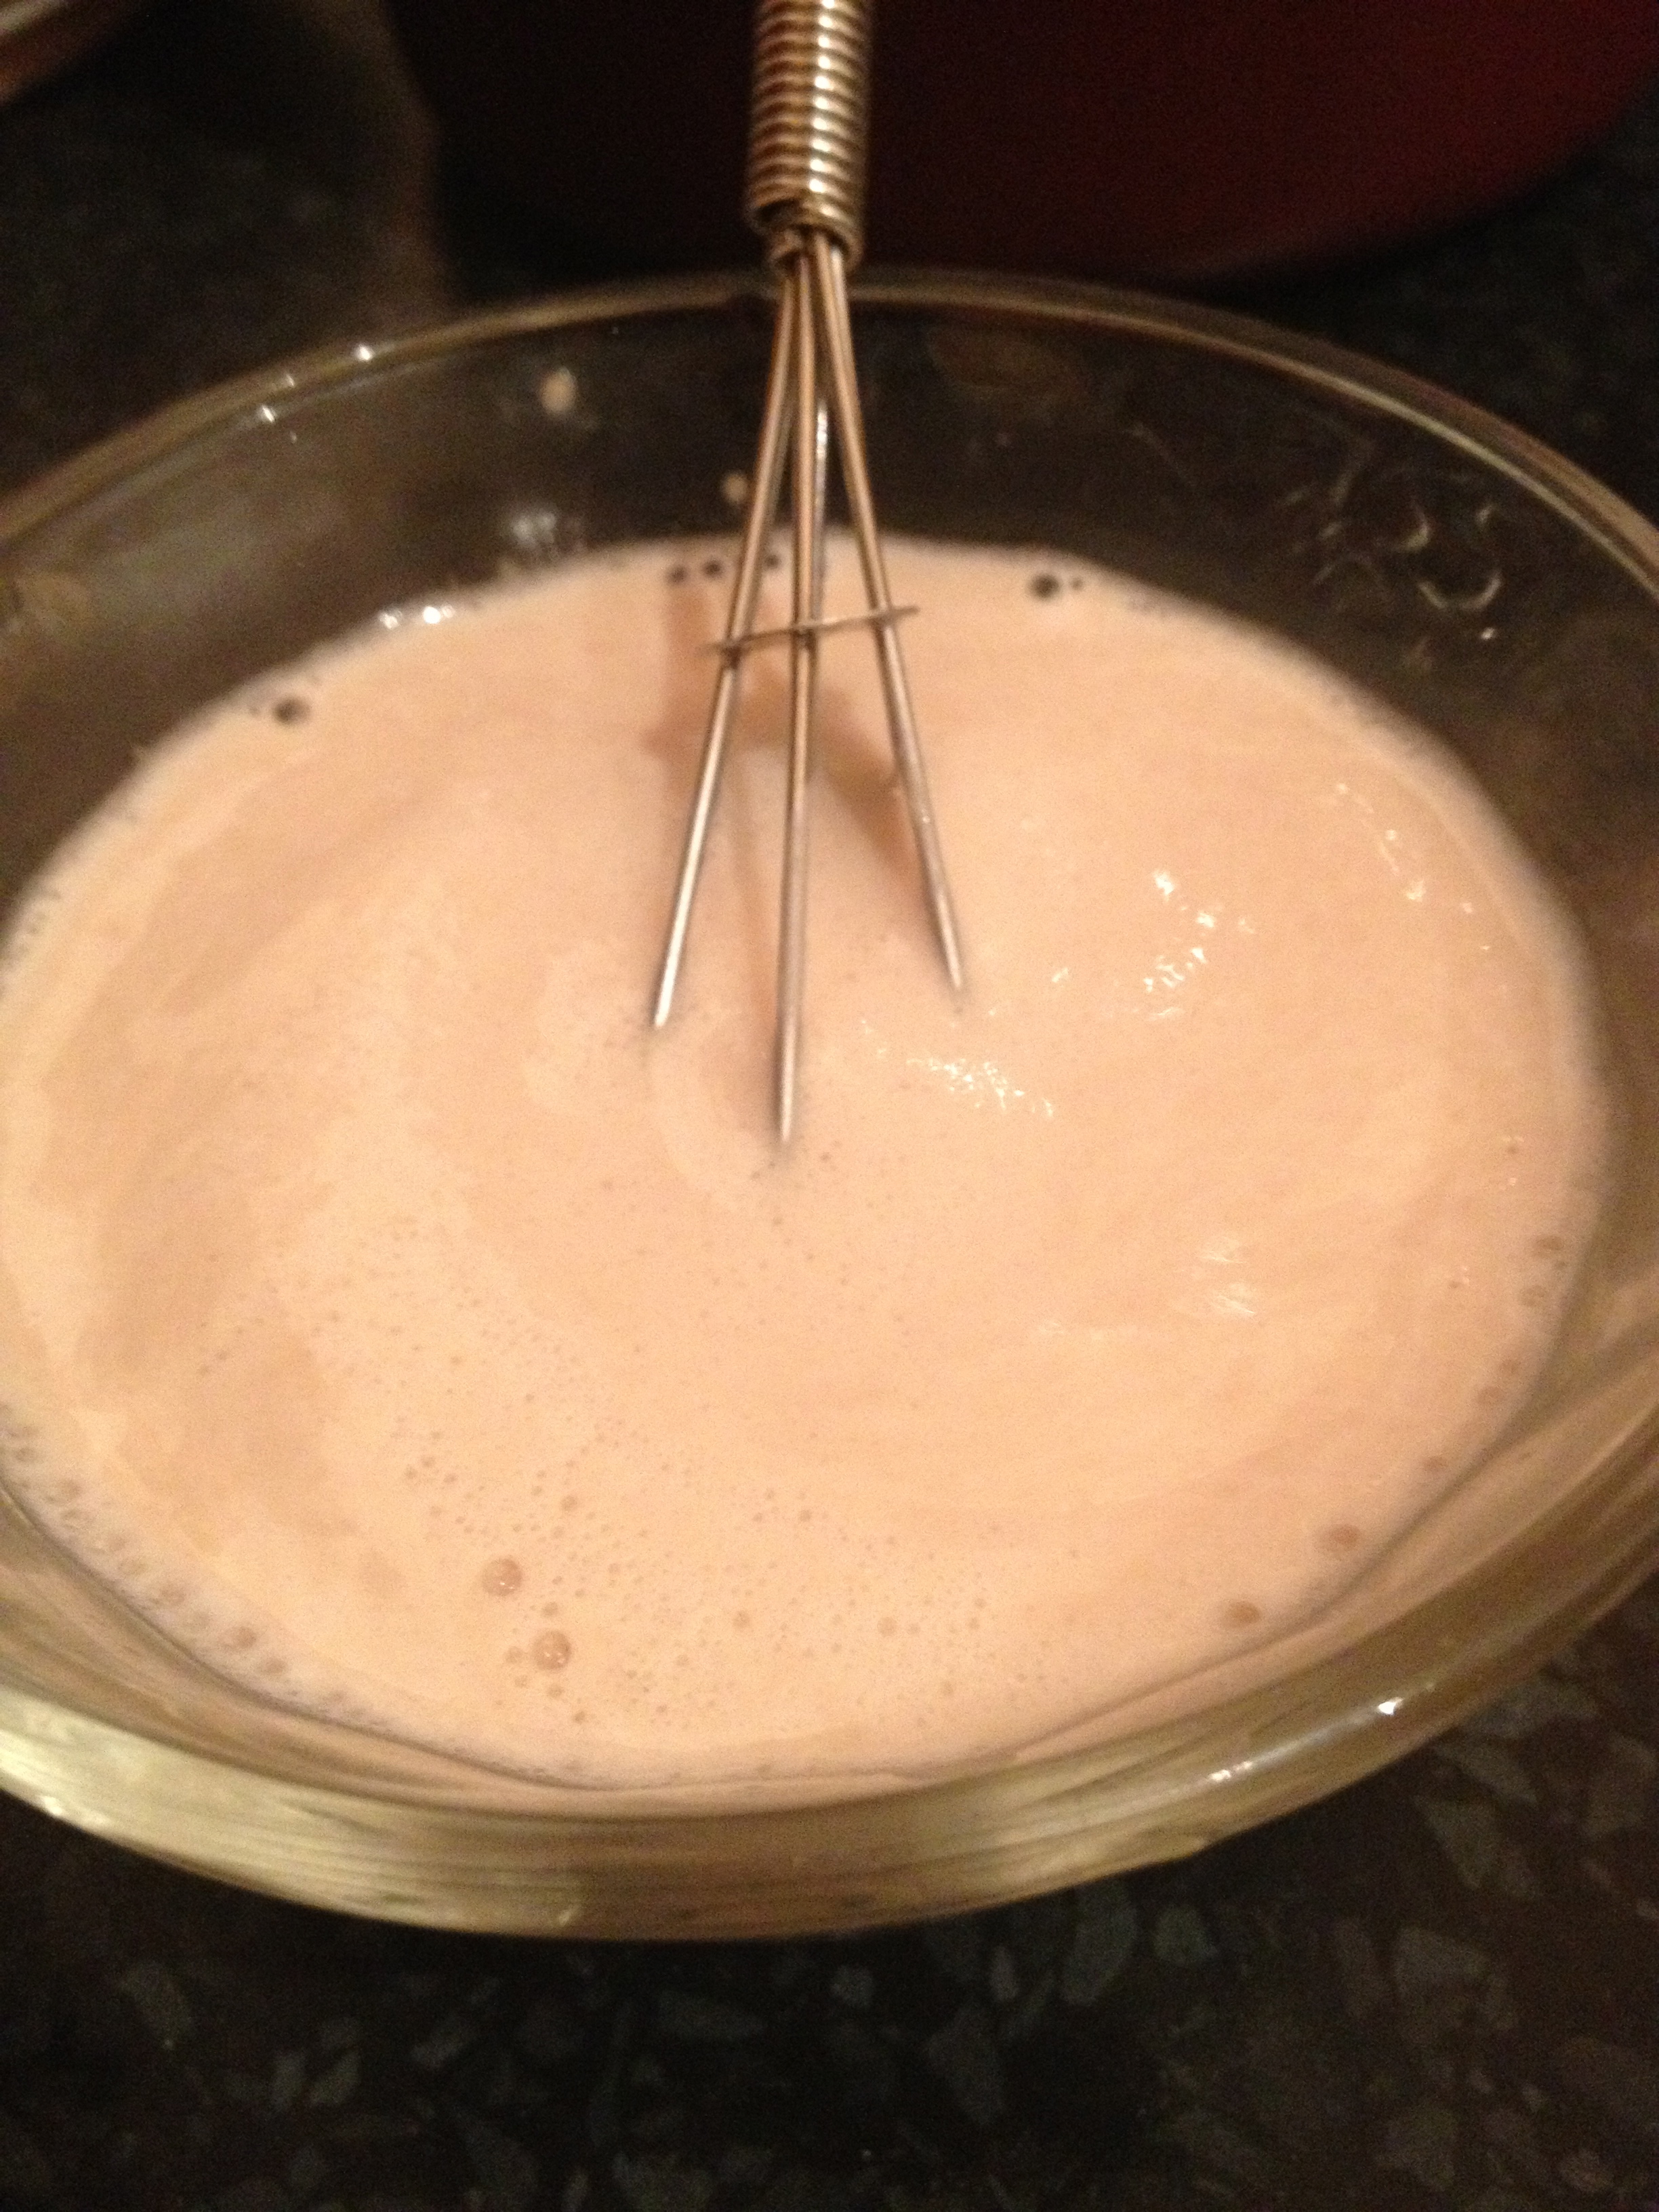
Before you begin to make your bread, you want to make sure that your yeast is working, otherwise you’ll have wasted a lot of time, energy, and flour… So look for bubbles like these, not just the air bubbles you make from whisking the yeast with water.
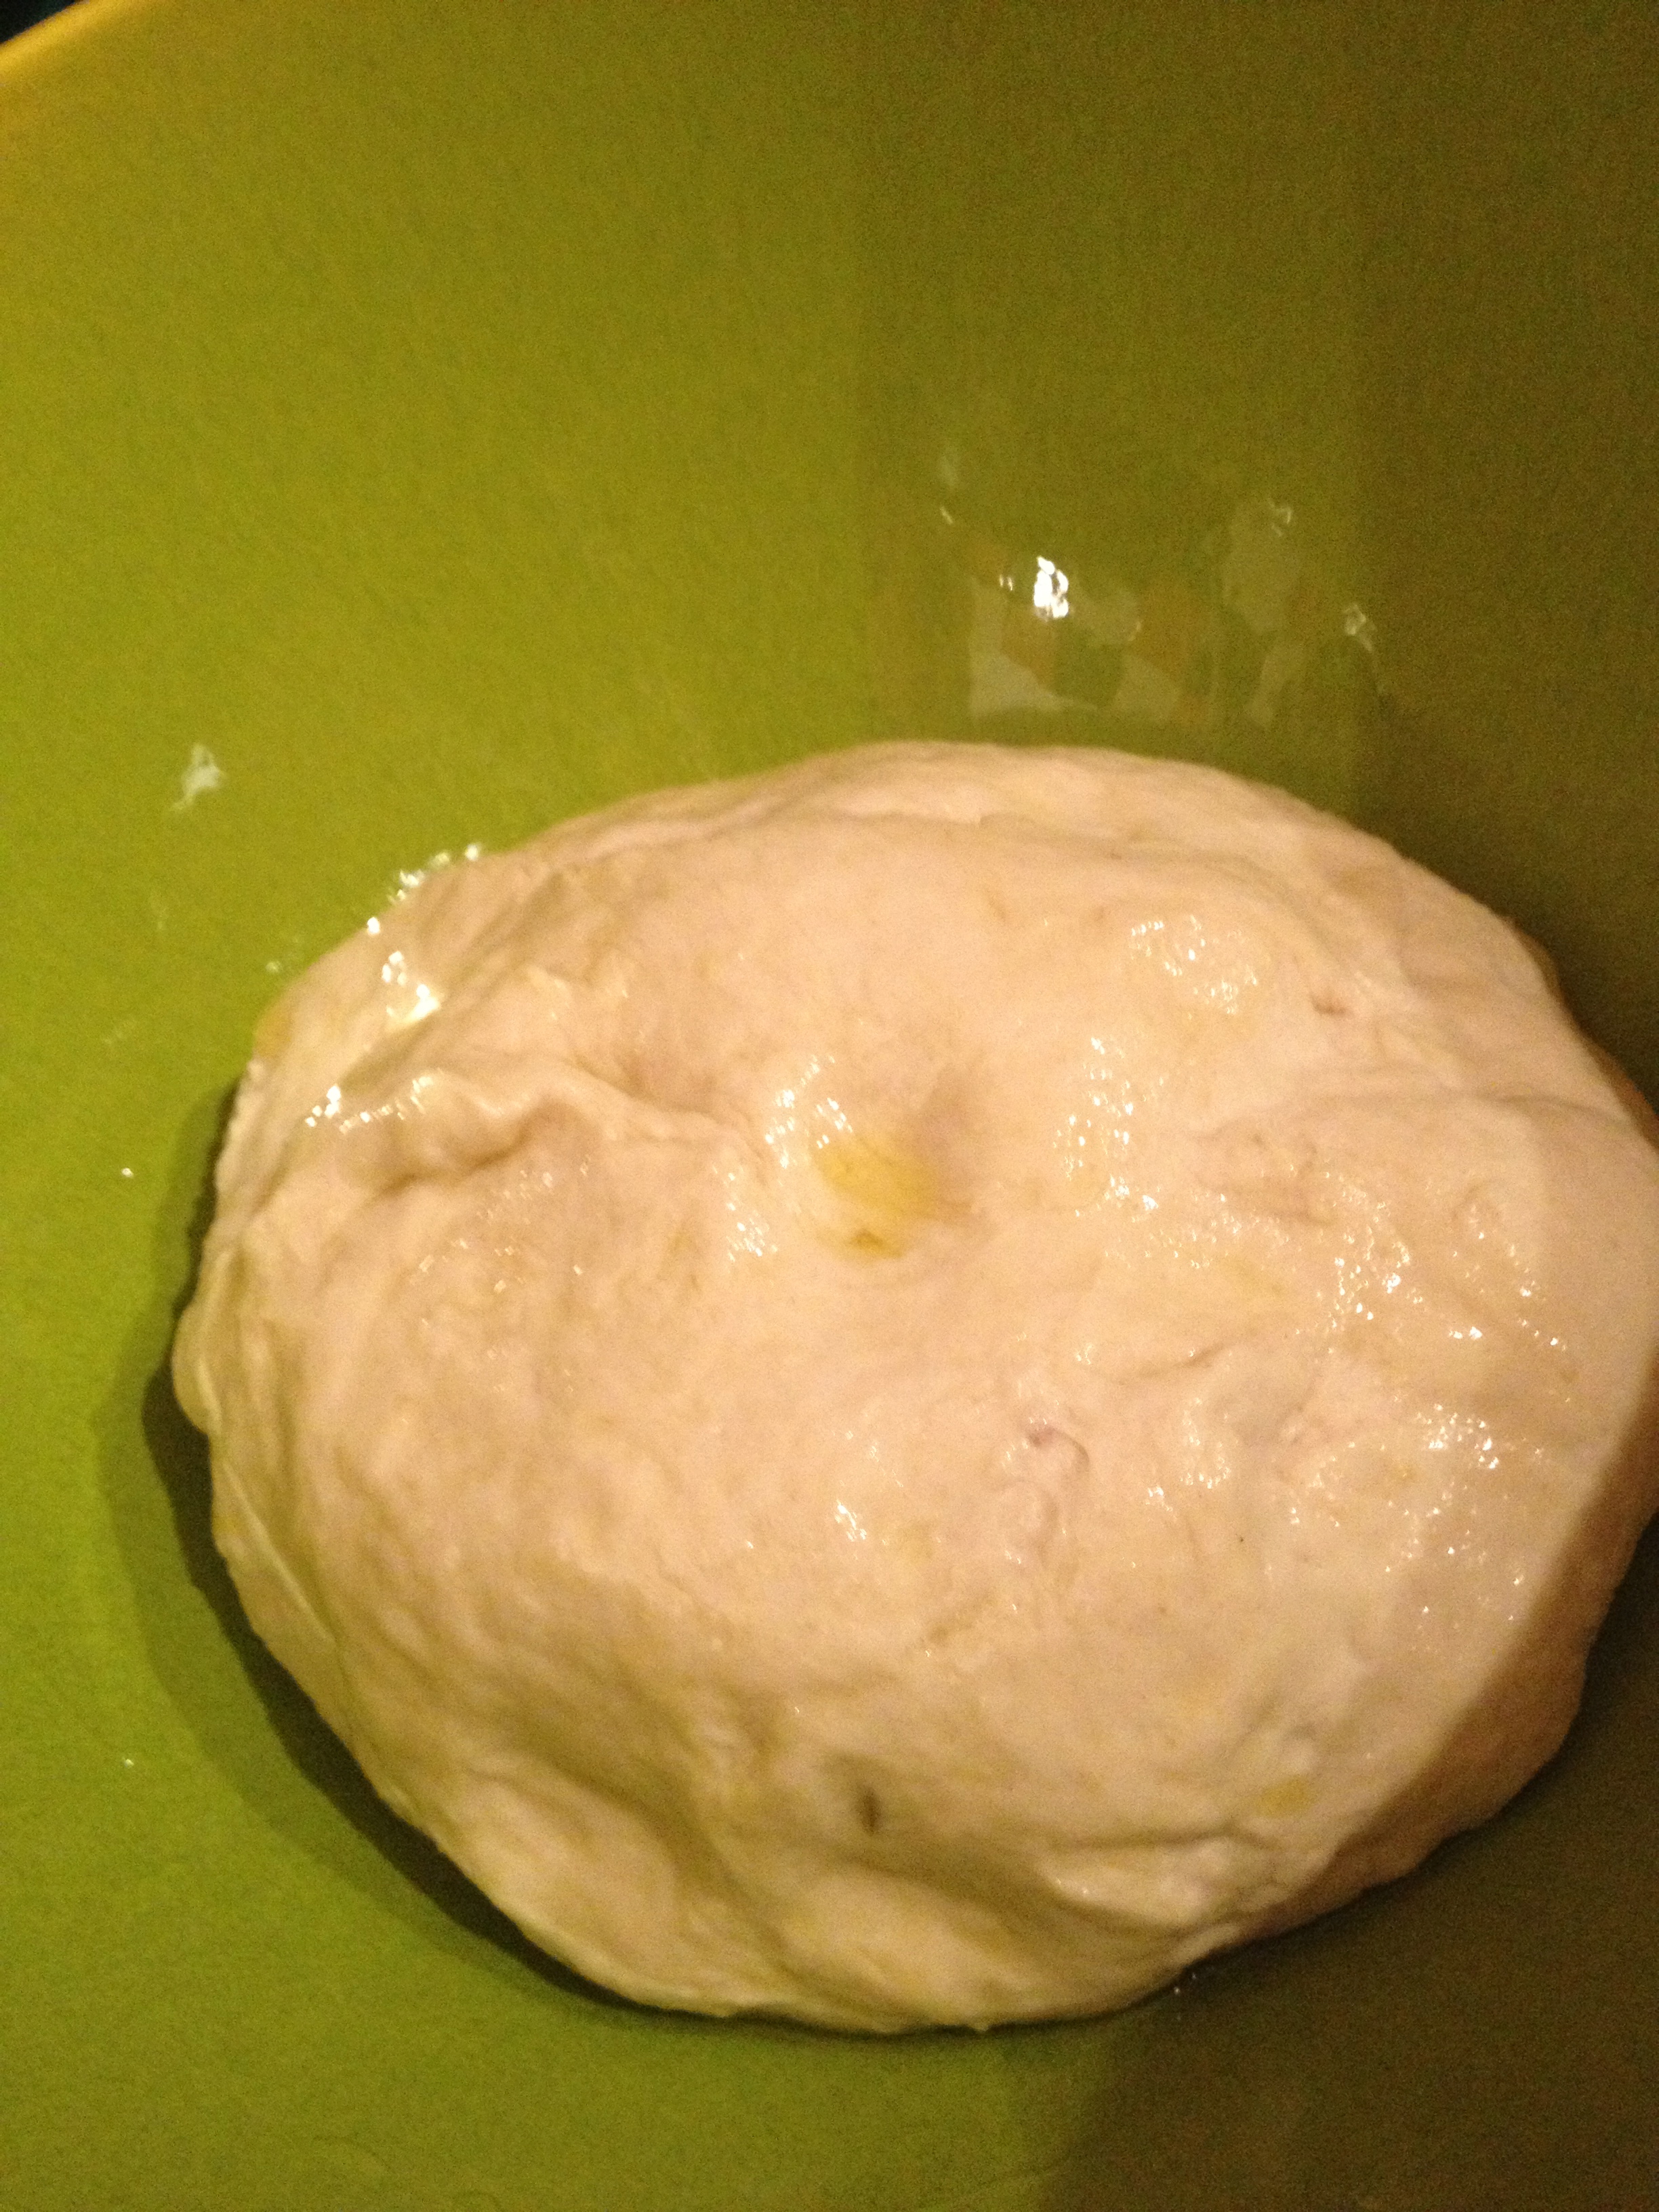
I add some of the lemon rosemary salt directly into the dough, so that the flavor carries through every bite.
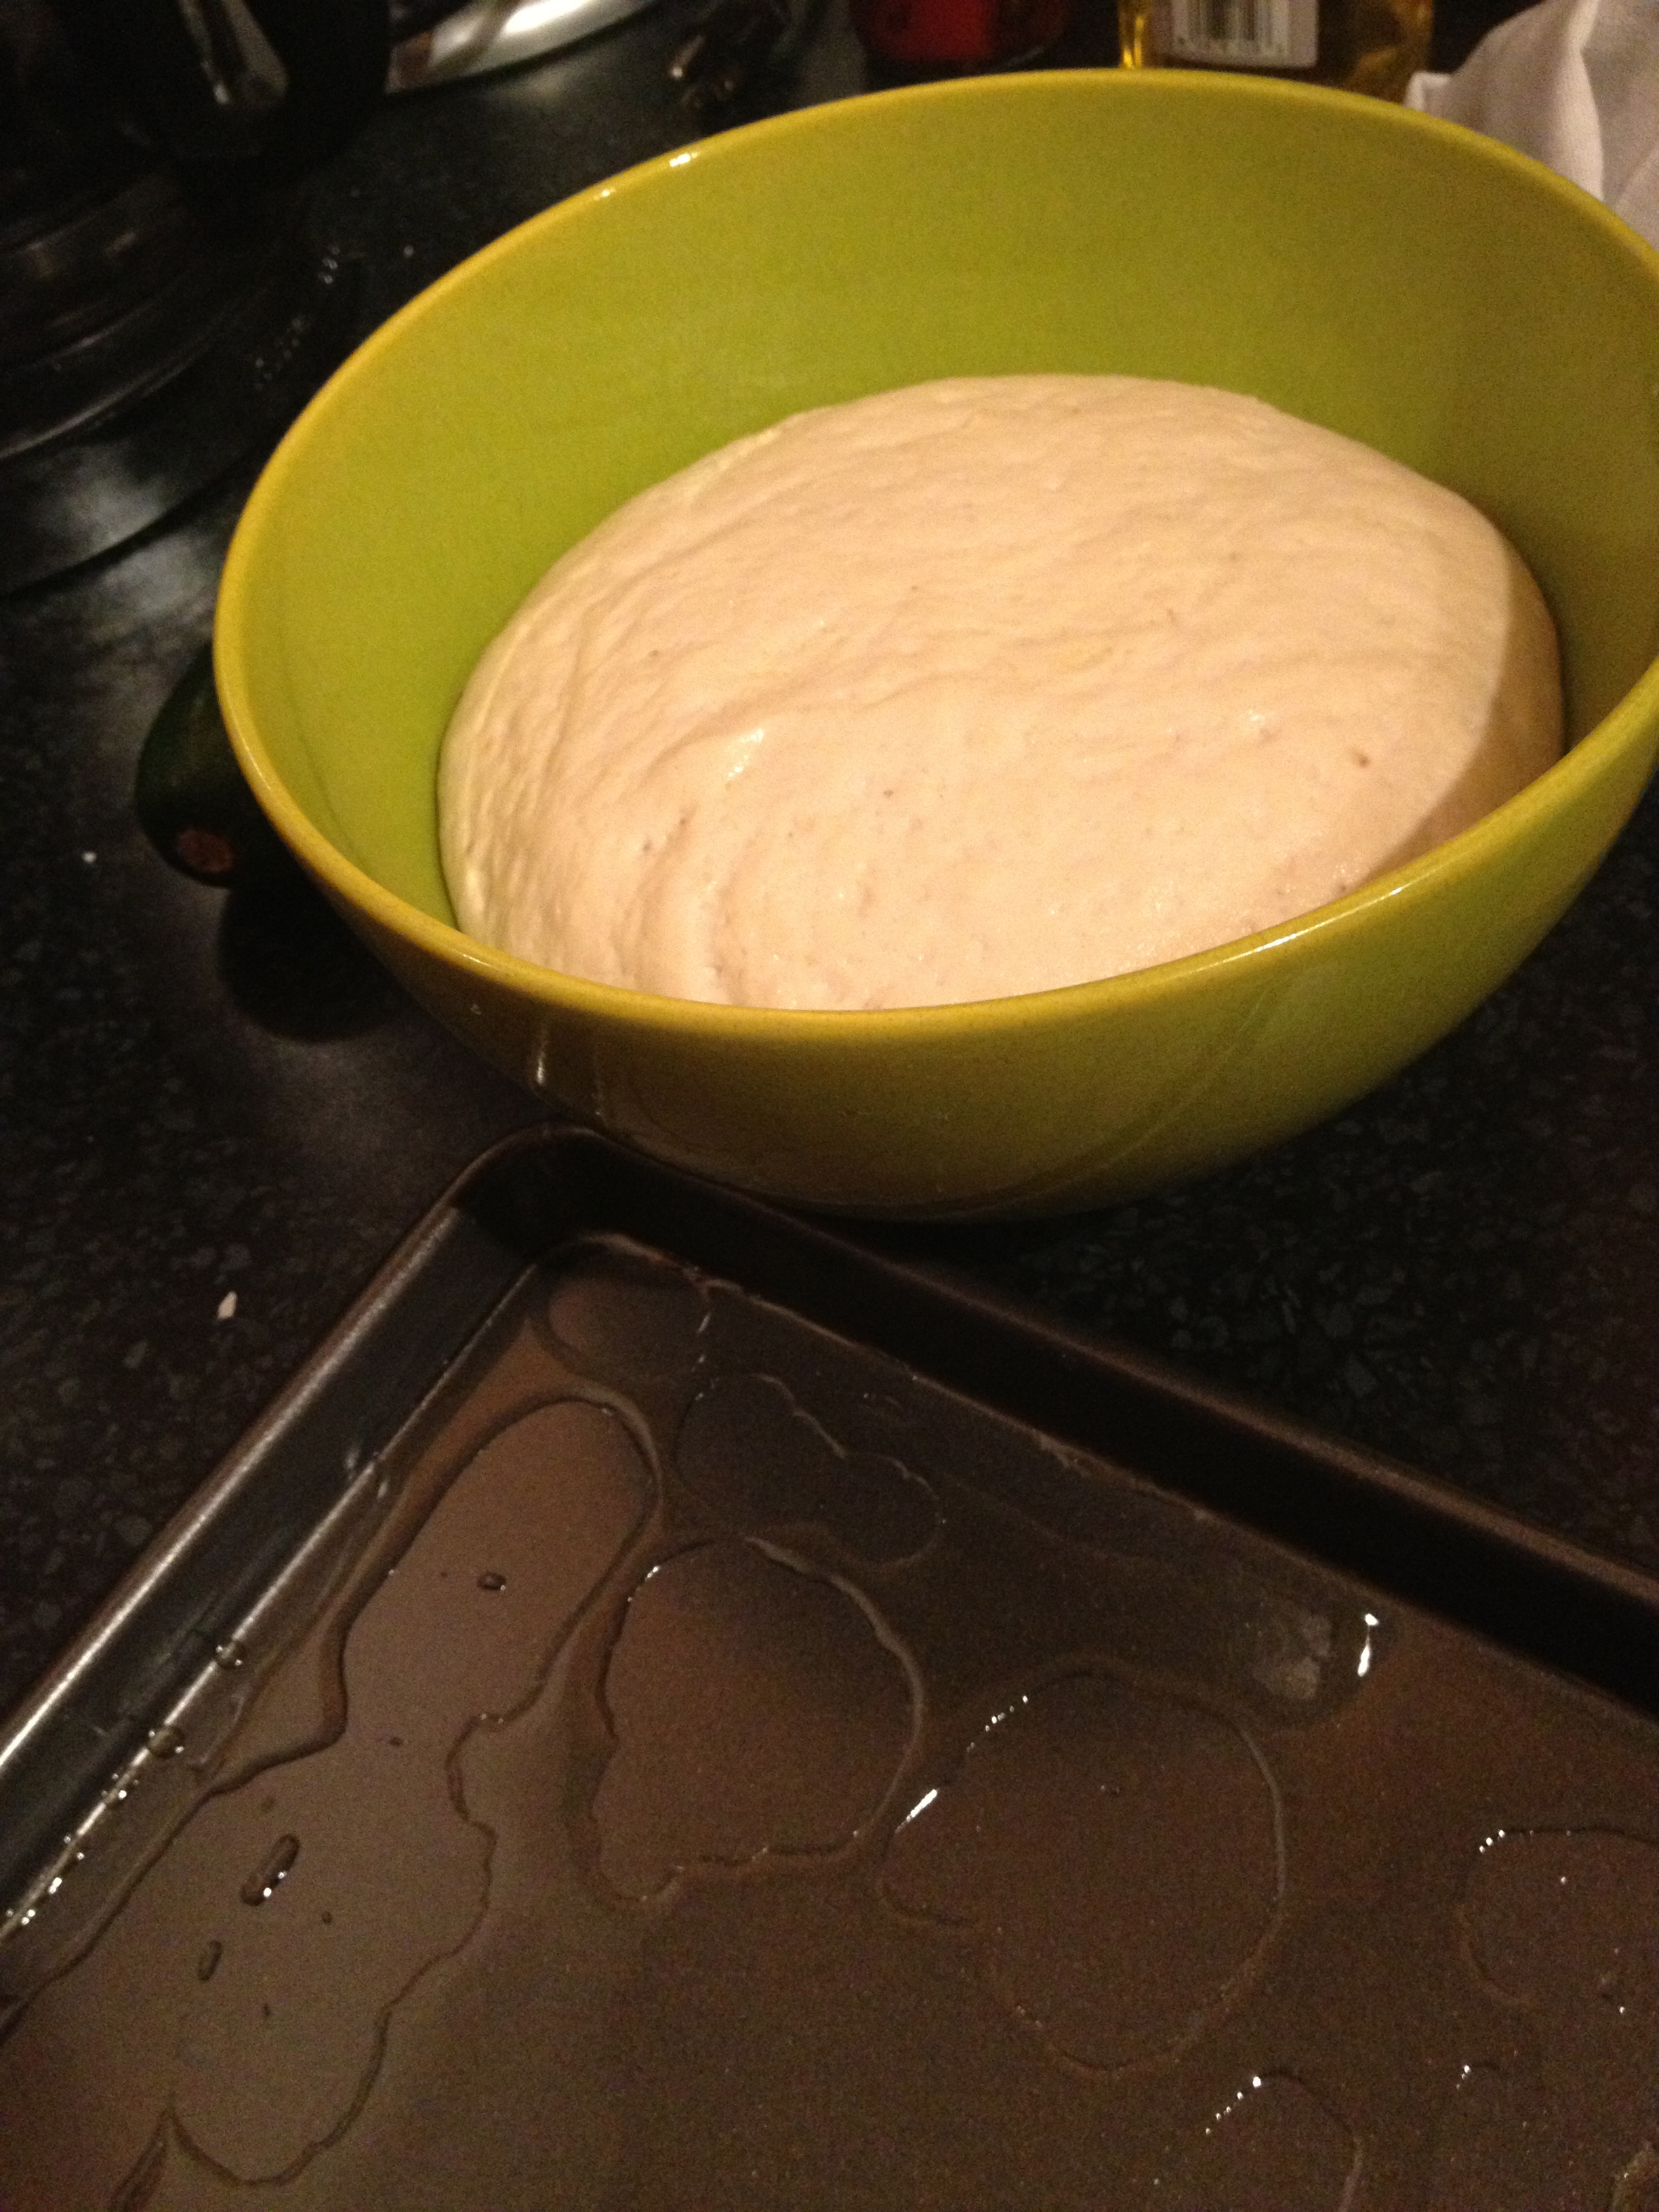
Yay! It’s always such a relief when you pull back your dishcloth and find a dough ball twice the size you left it.
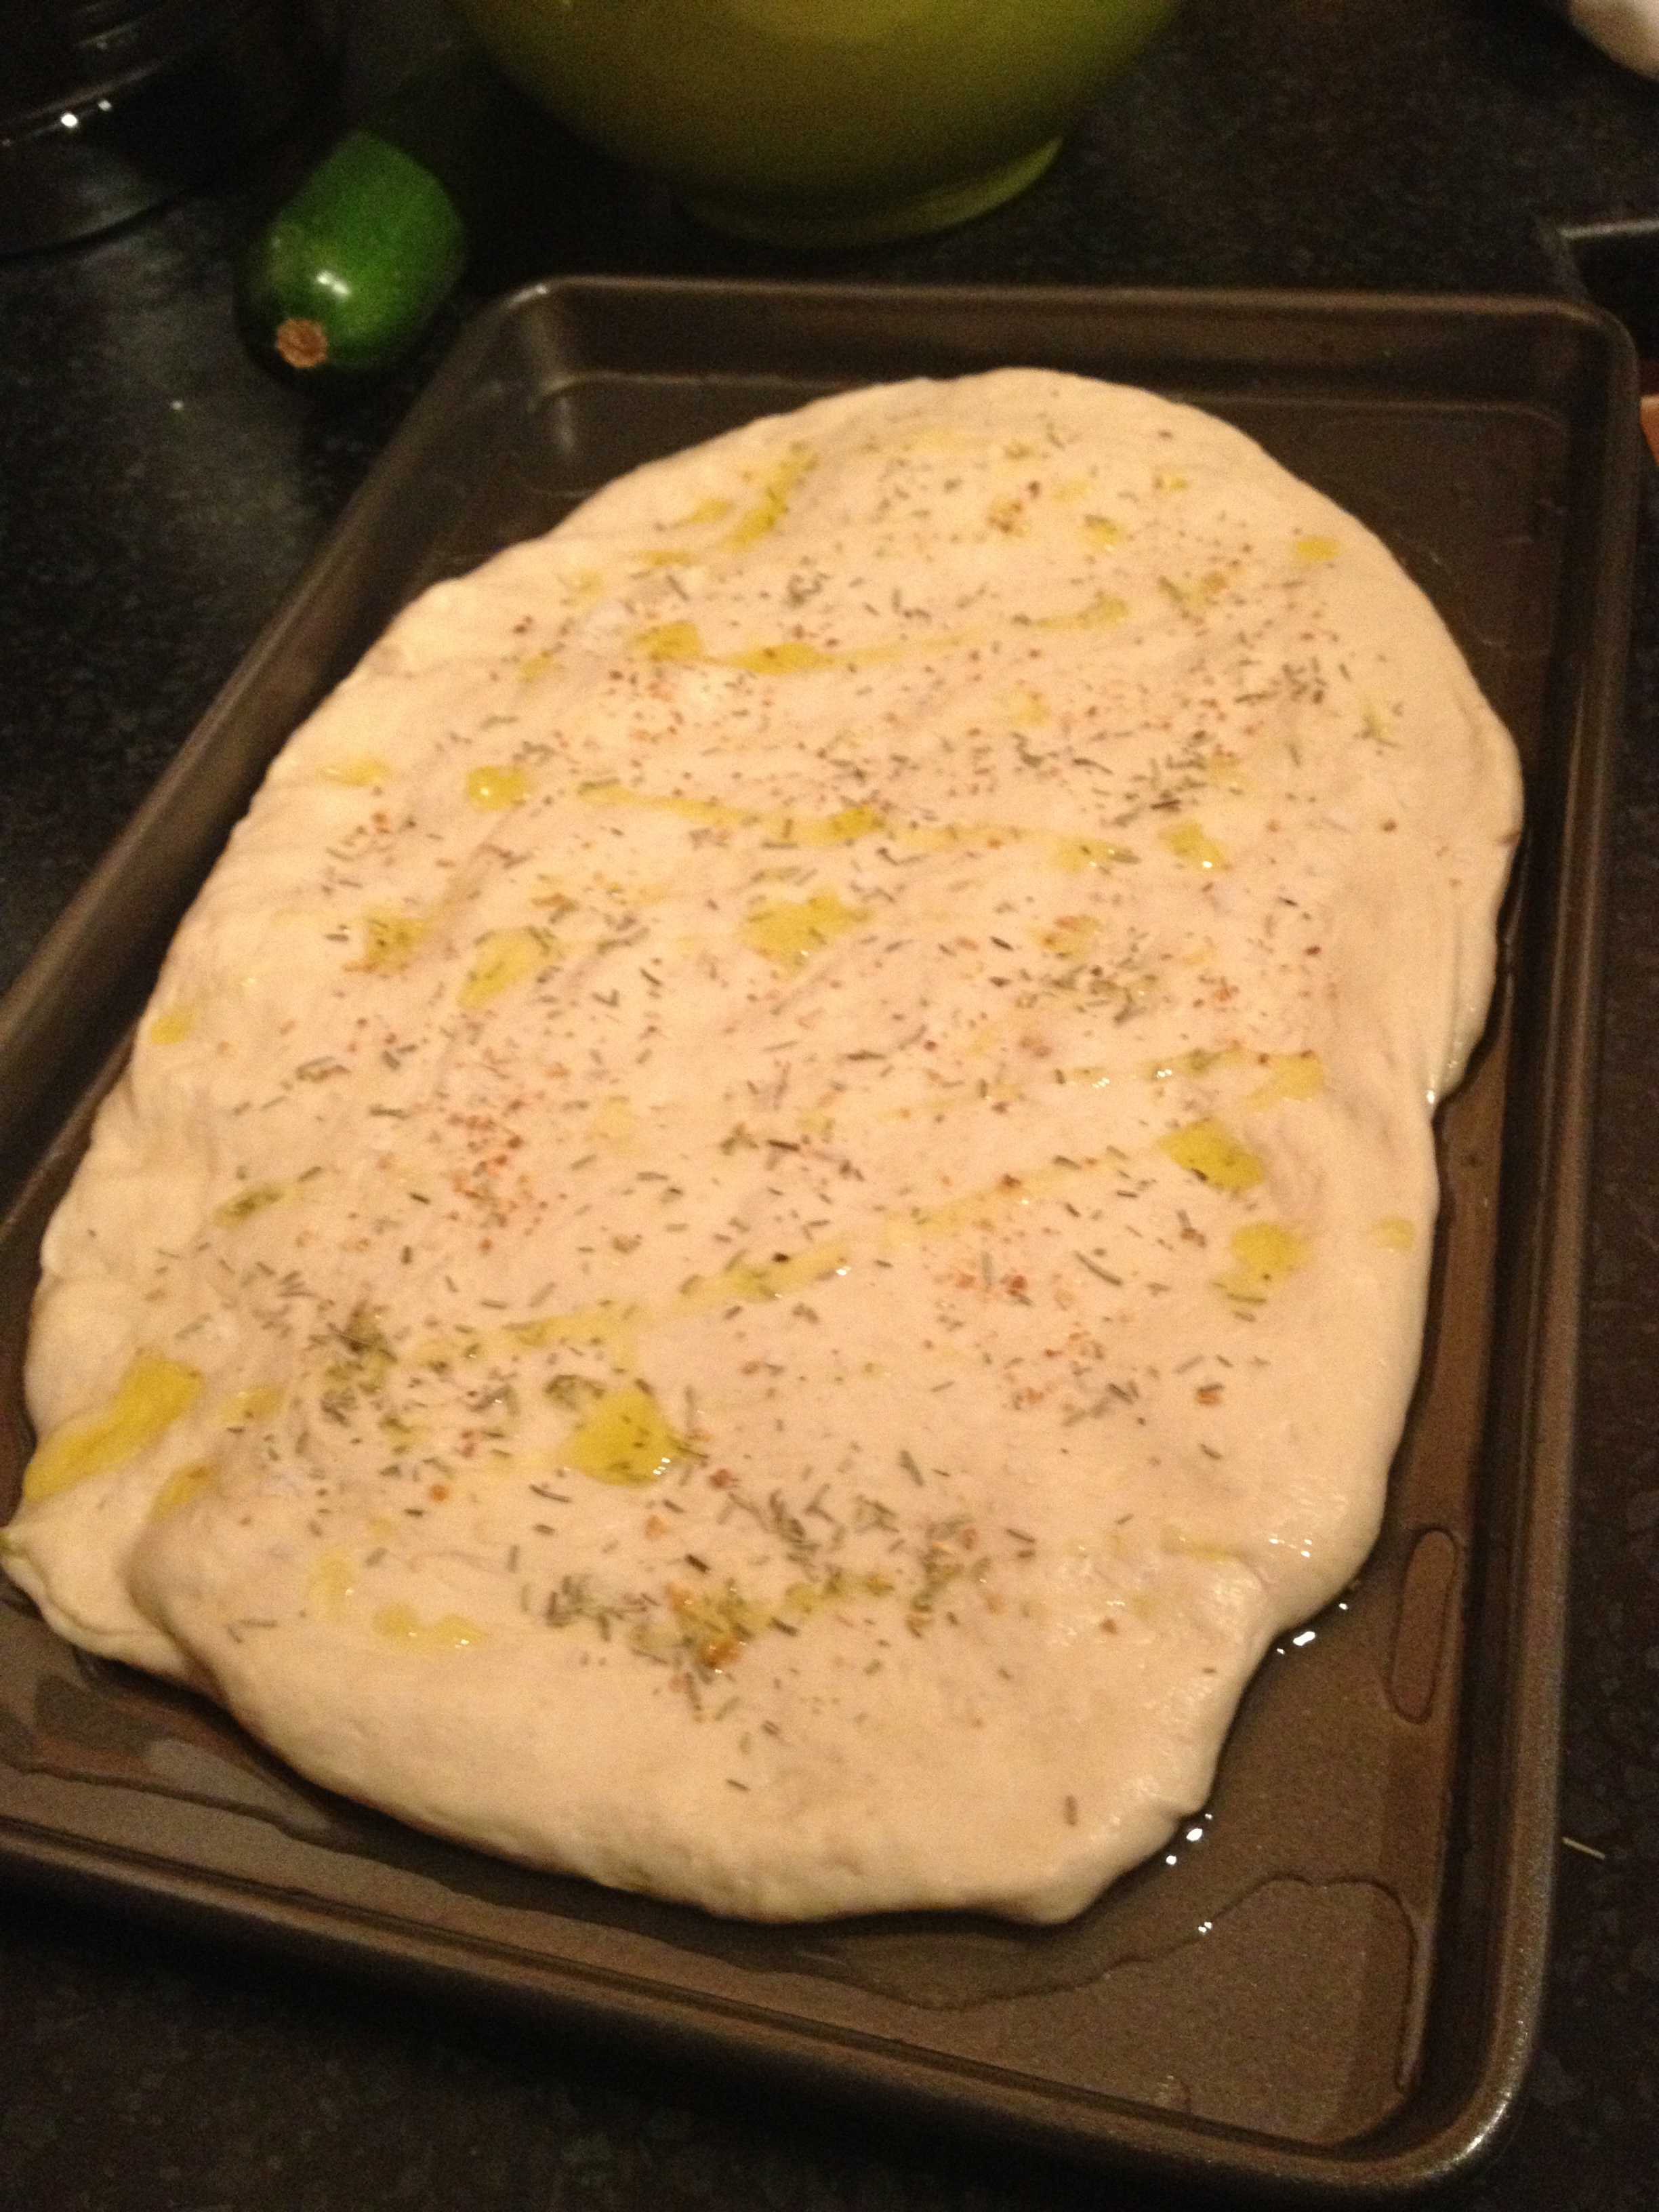
Spreading the dough out onto an olive oil covered baking sheet and drizzling more on top really gives the focaccia the attack from both sides it needs to create a crusty bread with a crunch outside, chewy inside and luxurious flavor all the way through.
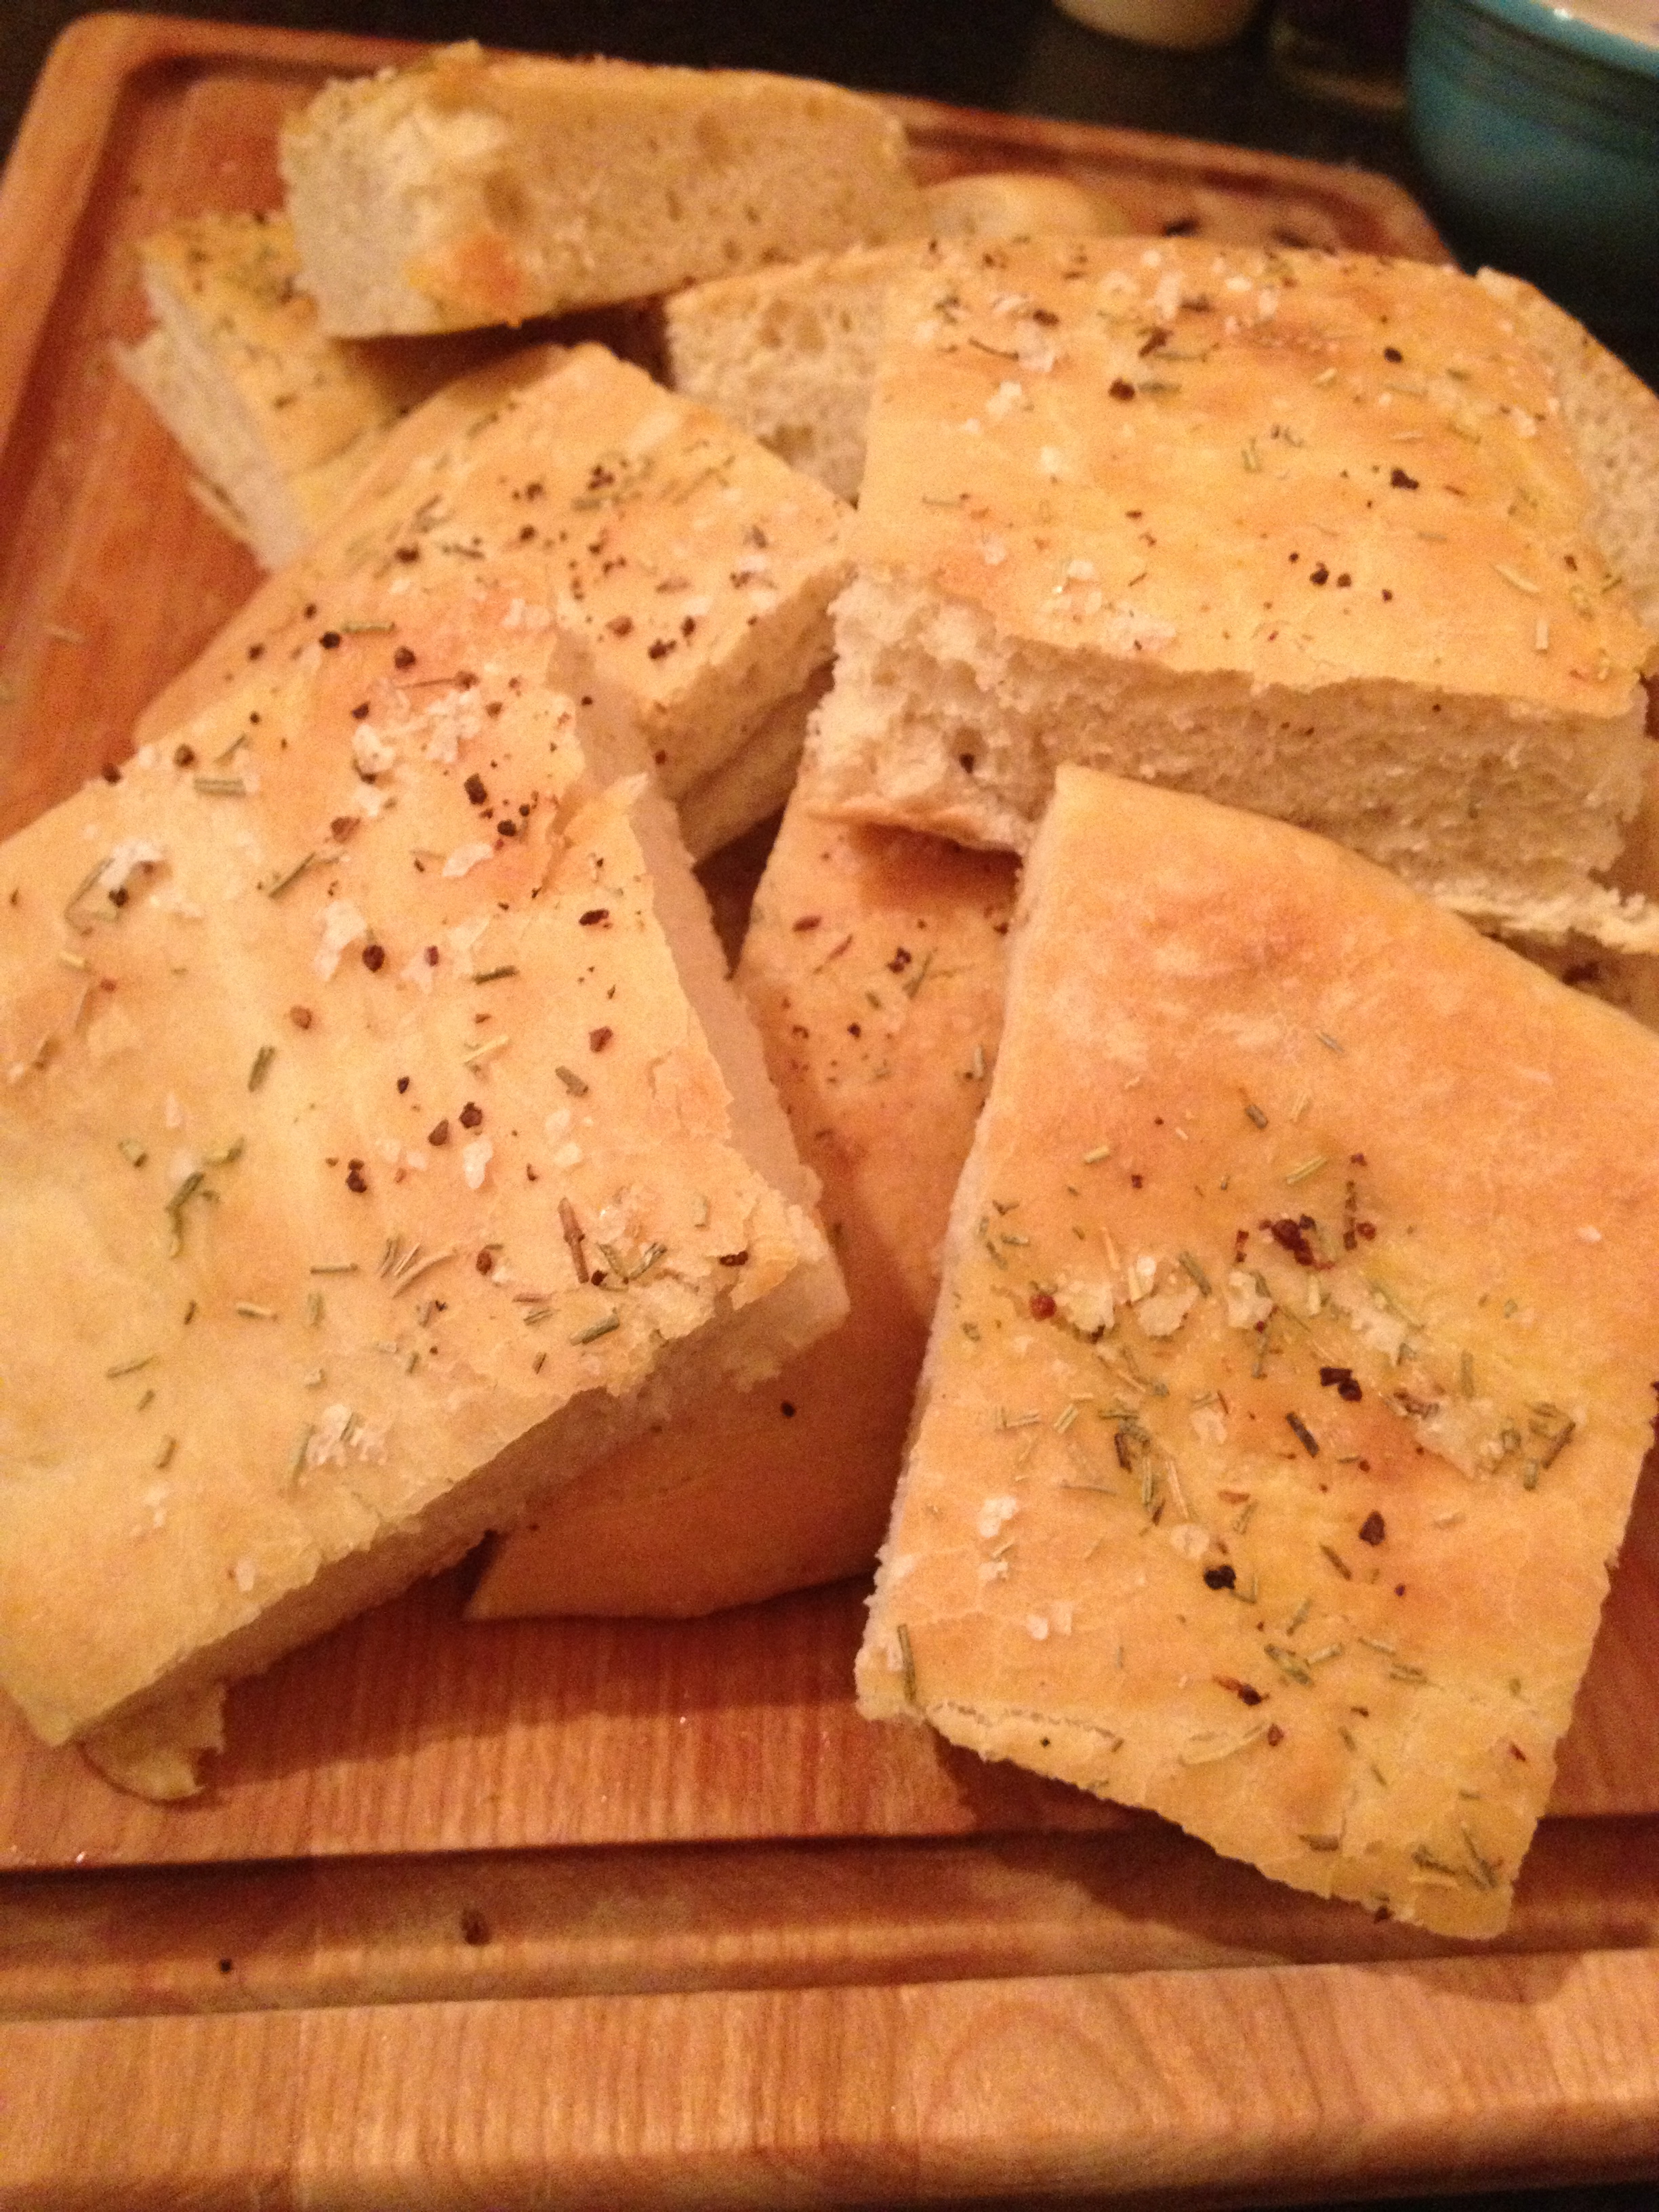
Lemon Rosemary Focaccia
1 1/3 cup warm water (105-110˚F)
1 packet dry active yeast
¼ tsp sugar
3 ½ cups flour
2 tsp lemon rosemary salt
¼ cup olive oil, plus a bit more for drizzling
Mix 1/3 cup of water, yeast, and sugar together in a small bowl. Allow to sit for 5 minutes until it proofs (bubbles).
In a standing mixer with a dough hook attachment, mix together one cup of flour, the salt, 2 Tbs olive oil, and yeast mixture. Alternately, add the remaining flour and water, about 1/3 of each at a time. Once combined, continue to kneed for 5 minutes, adding additional flour if the dough is too sticky.
Place the dough in a large bowl, greased with olive oil. Cover with a clean dishtowel and put the bowl in a warm place to rise until doubled in size, for about 1 hour.
Preheat oven to 400˚F.
Spread the remaining tablespoon of olive oil onto a cookie sheet. Roll the dough to and even thickness, about 1½ inches. Place on the prepared cookie sheet. Sprinkle with the remaining 1 teaspoon of salt and drizzle with olive oil.
Bake for 20 minutes, until golden brown.
